
In the second chapter of our ecommerce journey we discuss the importance of using good quality photographs on your website. We also have lots of ecommerce photography tips for those who can’t afford a professional photographer.
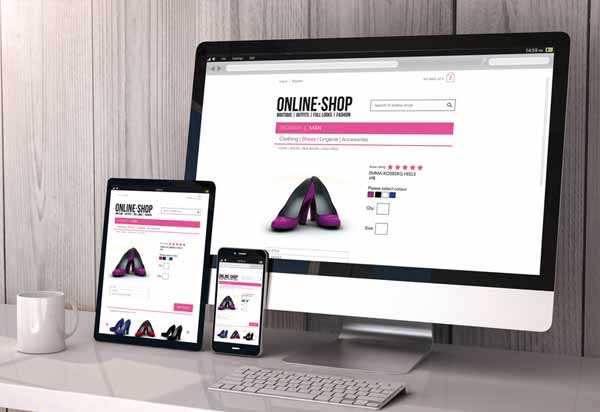
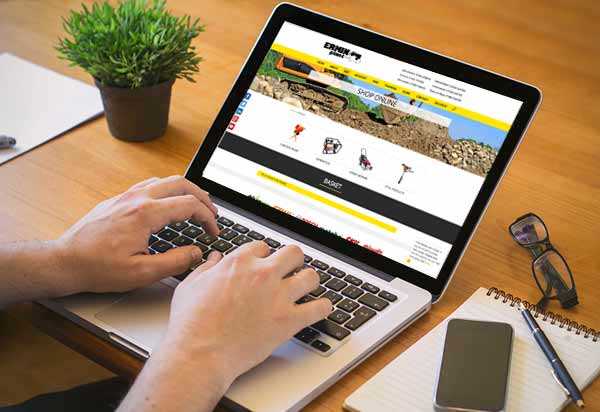
Using good quality images is vital for a successful ecommerce website. Your images throughout the website need to be clear and consistent.
Ecommerce websites that display multiple images of a product do better than those with just one. The images could be of the same product from different angles and then perhaps one lifestyle image. For example, it is nice to see an outfit on the hanger and on a model or if products are available in different colours an image of each one would be advisable.
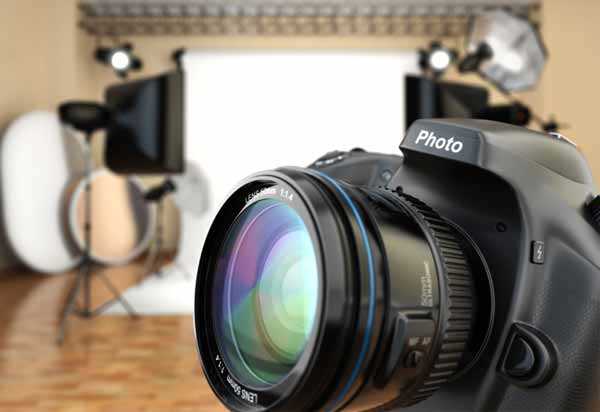
Some businesses are very lucky in that their stock supplier provides all of the lifestyle and product images needed. When this is not an option we would recommend investing in having professional photographs taken of your stock. However, depending on how regularly your stock changes and how much budget you have this is not always a viable option. If this is the case investing in a good camera and attending courses in product photography would be something that we would strongly encourage.
Ecommerce Photography Tips
For those of you that are new and have limited funds please read our handy ecommerce photography tips below.
Step: 1
Find the perfect spot
One of the most important things to consider when setting up a photography shoot is lighting. Don’t worry this doesn’t mean that you need to invest in the top of the range lighting, a good source of natural light can be just as good. So bearing this in mind somewhere with a large window or glass exterior door would work well. If you have multiple rooms that are viable, choose the one with the lightest walls and furnishings.
Step: 2
Setting up the shot
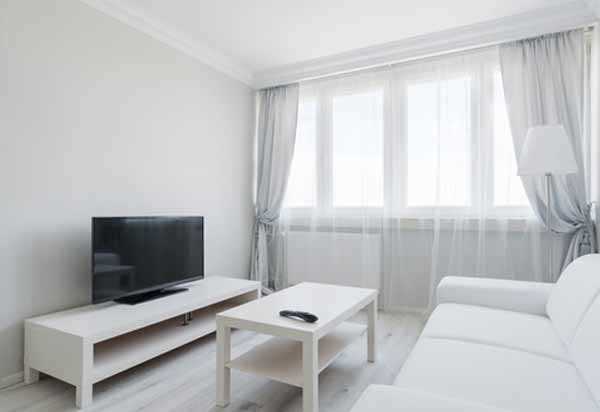
Depending on your brand, many product images work well on a clean white background. This looks professional and makes it easy for the viewer to focus on the product itself – much nicer than laying products on your bed with a duvet cover as the background! So it is worth investing in a screen or some people use large sheets of paper to create what is called a sweep. You can also purchase pop-up photo booths at quite reasonable prices. Amazon offer a range of backdrop options.
Step: 3
Landscape or portrait
Landscape photos are probably the most popular choice in a typical ecommerce website however it really depends on your product, fashion for example will use a lot of portrait images, as there are a lot of standing poses. What I would say is keep them consistent especially for the category images as a mixture of landscape and portrait on the same page can start to look messy.
Step: 4
Keep still
To help to keep your images consistent and to help to avoid out of focus shots, using a tripod is advisable. If you cannot afford to invest in a tripod set your camera up on something sturdy like a table. Also it can sometimes be tricky to keep your product to stay in the desired position, so some glue dots, blue tack or tape may come in handy (not advisable for humans and animals though!).
Step: 5

Take lots of shots
It is always better to have lots of images to choose from, and as mentioned people like to see products from different angles, so get snapping!
Step: 6
Get website ready
Once you have chosen your photos, you need to prepare them to be uploaded to your website. So they will need to be resized and compressed. A good site to use for compressing is https://tinyjpg.com.


